Using the Brush Tool
The Brush Tool is a new addition to Guts that lets you quickly place objects onto a room piece in a layout. If you plan on doing any decoration, you should learn how to use the Brush Tool. It's not the best tool to use in every circumstance, but if you use it enough you'll get a good feel for how it's best used.
Contents |
How It Works
The Brush Tool places objects that are specified in the brush editor on top of room pieces in a layout. You can specify what types of objects are placed, along with various properties regarding how they are placed.
BrushEditor Window
Before you get started with the tutorial, it would be a good idea to go over the Editor Brushes page and check out the details of how Editor Brushes work. The Editor Brushes page lists all of the details of the window, and the unique controls that are enabled when the Brush Tool is active.
Using an Existing Brush
We're going to start out by using some brushes that have already been made. There are a ton of brush folders already included in the game, so we'll start with one of those and the included layout.
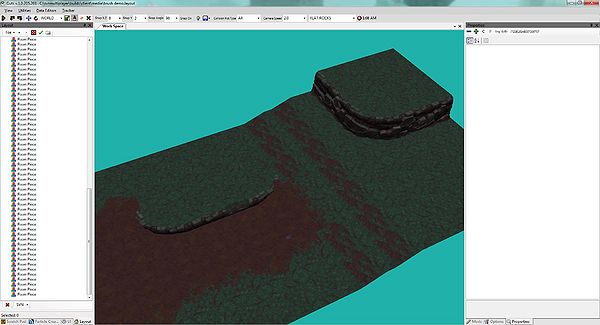
- Load up the "brush demo.layout" file provided with this tutorial. File:Brush Demo.zip
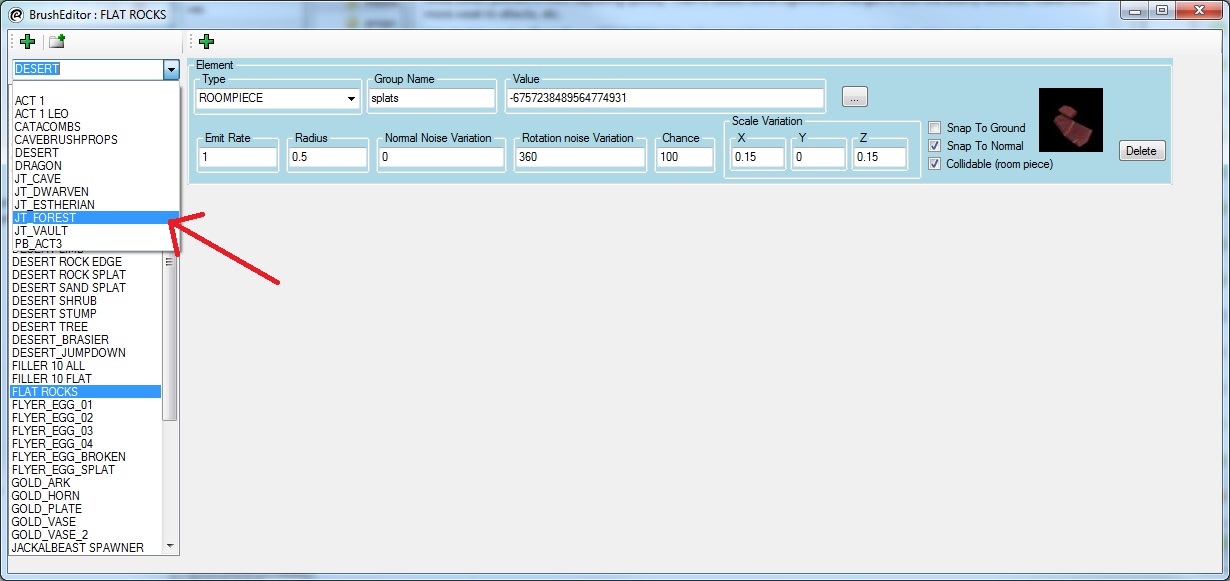
- Open the Brush Editor (Press "B" with the main window in focus, or click the paint brush on the top bar) and select the JT_FOREST brush folder.
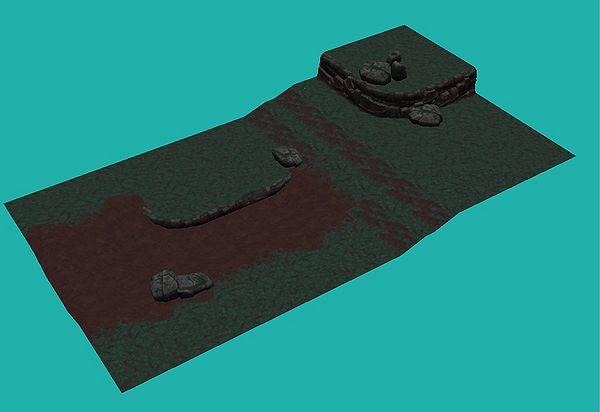
- We're going to start by decorating with some large rocks, so pick the FROCK_BOULDER brush.
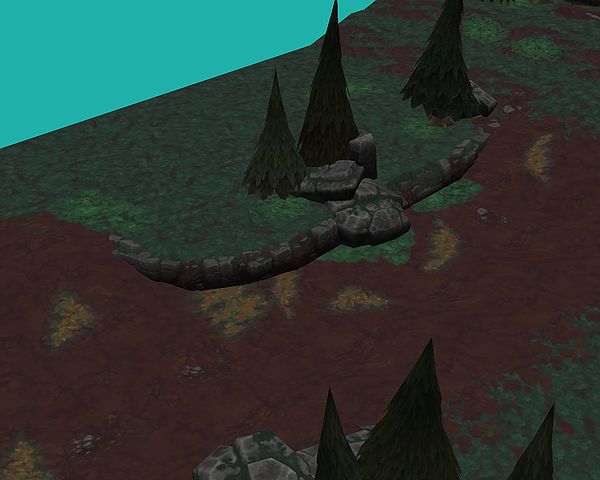
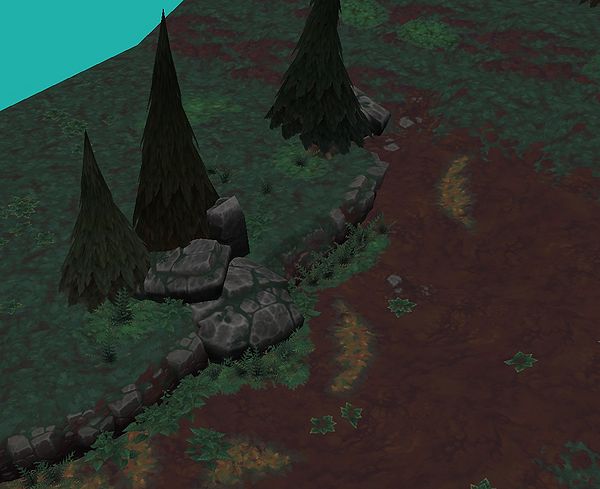
- Move the blue dot to where you want to place the boulder, and press the middle mouse button to place a boulder. If you don't like the boulder, you can use ctrl+left mouse button and move the blue dot over the center of the boulder. This should erase it. You may also press "V" to return to regular mode and select the new boulder. Then you can rotate it, scale it or use the "[" and "]" keys to change the appearance of the boulder while it's highlighted. You can cover up some of the places where the tileset doesn't quite fit together properly (you'll see texture seams) but if you don't want to fix every spot by covering it up with a boulder, that's ok. There are plenty of other things we can use to cover those spots up.
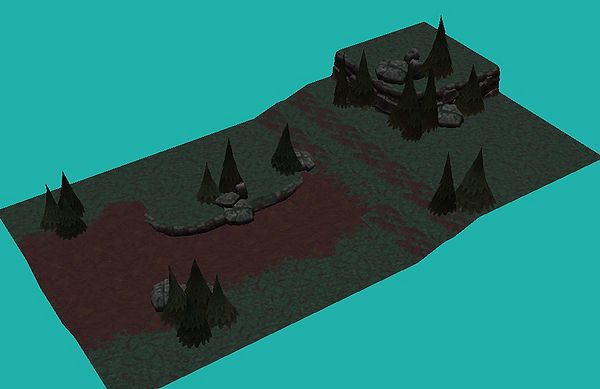
- Next, select PINE_TREE and use the MMB (Middle Mouse Button) to place some pine trees around. They're pretty big, so try to not obscure the player's view too much. Try to place them in front of places where the player can't walk. Then, select PINE_TREE_SMALL and place some of those as well.
- Now, we're going to place some splats. Splats are what we call flat stamp-like objects that break up the textures on the ground. Try using any brushes that start with "F_SPLAT_". If they overlap, they'll cause a texture flicker. If that happens, you can always delete or move them. There are also different versions of each splat, and you can use "[" and "]" to cycle through them. Also experiment with placing splats on the sloped areas. Sometimes it works, sometimes it doesn't. I usually looks pretty good if you put splats around larger objects like boulders and under trees. It's also good to put dirt splats on the dirt ground pieces. The splats have rocks painted into them and it breaks up the constant flat brown texture. If you want one splat to go on top of another, you can move the splat over top of the other splat and press the "home" key, which will place it just above the other splat. You can use splats to cover up texture seams as well.
- At this point you've seen much of what the Brush Tool has to offer. However, everything we've used so far has an emit rate of 1, which means it will place an element once every second. There are brushes such as PLANT_FERN and PLANT_HOSTA where you can hold the left mouse button down and paint many of those items at the same time. This is because the emit rate is higher. PLANT_FERN has an emit rate of 10, so if you hold down the LMB for one second, there should be ten ferns placed. You can still use ctrl+LMB to erase the items painted with that brush.
- After you have become familiar with these methods, try experimenting with other Brushes. Some of them are quest-related like the GLYPH_OF_ELEMENTS brush, and those shouldn't be used. However, most of them can be placed. You'll find things that can be placed such as fireflies, trees that are full of bats that will swoop down and attack the player, randomized islands that can be placed in the swamps, bushes where monsters will jump out of them, and all sorts of other things.
Making A New Brush
Sometimes a brush doesn't exist, and you would like to use the Brush Editor to place something.
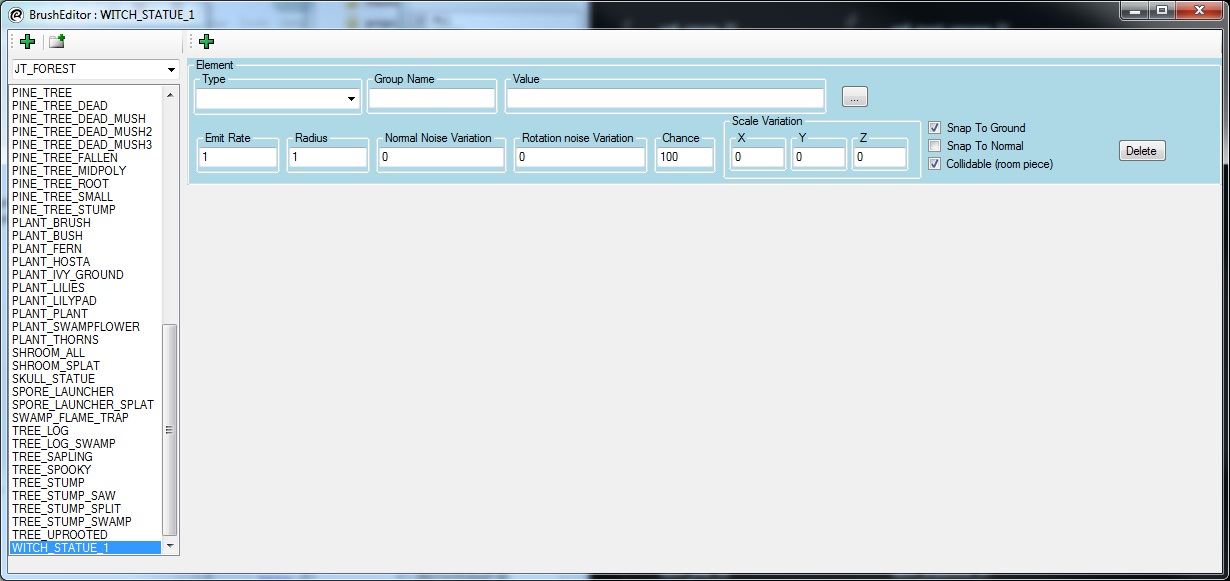
- To make a new Brush, either press the top left green "+" in the window or right click on a brush that's similar to the one you want to make and select "clone". For this tutorial, don't clone anything and instead create a new brush.
- Enter the name for the Brush. Name it "witch_statue_1"
- Click the green "+" that's to the right of the one you used to create a new brush. You'll see a new Element form appear.
- Set the element type to ROOMPIECE.
- Set the Group Name to "Witch Props"
- Click on the "..." button next to the Value field and navigate to Forest, then check all, then find witch_statue_01 and double click on it. You should see the witch statue icon appear near the check boxes.
- Leave the Emit Rate at 1. We will be using the MMB to place this one beings you don't want to place a bunch of these all together like you would with a group of ferns.
- Set the Radius to 0.3. This will let you easily see the blue dot but also give you pretty good accuracy when placing the statues.
- Set the Normal Noise Variation to 7. This means that the statue will lean up to seven degrees in any direction when placed.
- Set the Rotation Variation to 360. This means it will spin in any direction. You could also set this to 180 and get the same results, I believe.
- Leave the Chance at 100.
- Leave the scale values at zero. If you're making a brush for something like a rock, it would be good to change the scale because it's more of an organic shape. With something like a statue, you'd want to stick to uniform scaling by hand.
- Leave the check boxes at their defaults as well. You want it to snap to ground, but you don't want it to snap to normal. That would make the statue lean over a lot if it was placed on a slope, and that's undesired. You do want it to be collideable as well, so leave that checked.
At this point, the brush is ready to use.
Making A New Folder
You might want to make a new brush folder for something like a new tileset, or if you wanted to keep the brushes you make separate from the existing ones.
- Click on the Folder Icon with the tiny green "+" on the top bar.
- Name your folder. Viola! That's it.
You can find the Brushes and any new folders you create under client\DataEditor\EditorBrushes
