How to Create a Lever
From Runic Games Wiki
Contents |
Summary
In this tutorial I will cover how to add a new exported lever (a unit trigger) to your mod through the editor based off the zip file supplied.
Example file
First you will need to extract this zip to "your mod folder"\media\models\triggers\mod_lever_01
This Zip includes:
- mod_lever_01.MESH, the model.
- mod_lever_01.dds, the texture. The texture format needs to be a dds. Nvidia offer a dds converter.
- mod_lever_01.material, the material file. This file declares how the outward apperance of the model will be represented. It's essentially a basic shader definition. Within it, one of the things it does is it states that the model uses the mod_lever_01.dds texture.
- mod_lever_01.SKELETON, the bind skeleton file. This file is the bind data for how the model is attached to a set of bones for animation.
- on.SKELETON, the on animation. This is the animation that plays for turning the lever on.
- off.SKELETON, the off animation. This is the animation that plays for turning the lever off.
First Step: Create Lever GUTS Animation File
- Start up GUTS
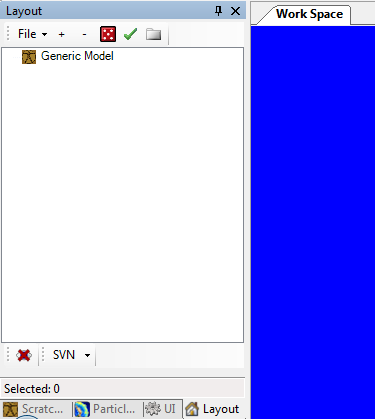
- Create a generic model for the lever.
- Right click on the worskpace in the Layout panel.
- From the menu choose Building Blocks > Generic Model.
-
- In the Property: GenericModel panel click on the FILE field and then click the "..." button to the right of it and browse to "your mod folder"\media\models\triggers\mod_lever_01\mod_lever_01.MESH. The editor now has a file that list the animations that can be used with mod_lever_01.
-
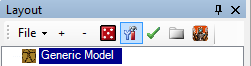
- While the Generic Model is still selected in the Layout panel, click the
 button at the top of the panel.
-
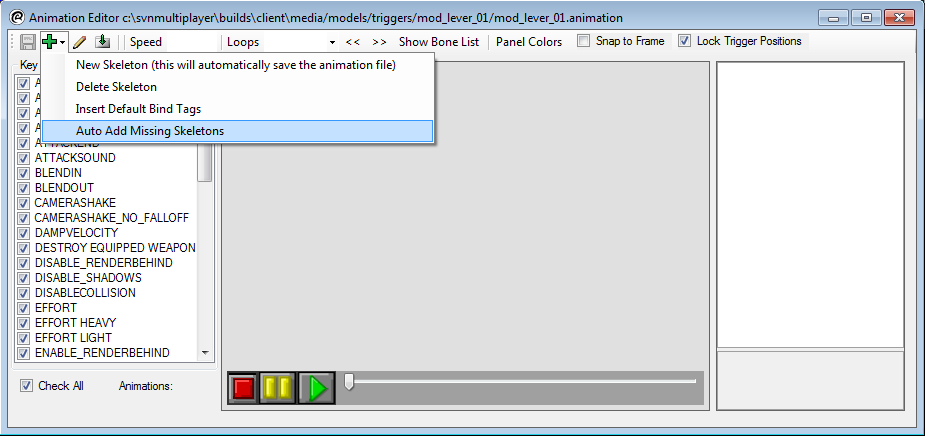
- This brings up the Animation Editor. From here click on the
 button and select Auto Add Missing Skeletons from the drop down menu.
-
- The Animation AutoAdder dialog will pop up. Make sure all 3 .skeleton files are listed and checked. Click the Add Checked button. Your Animation Editor window should now have all the skeletons listed.
-
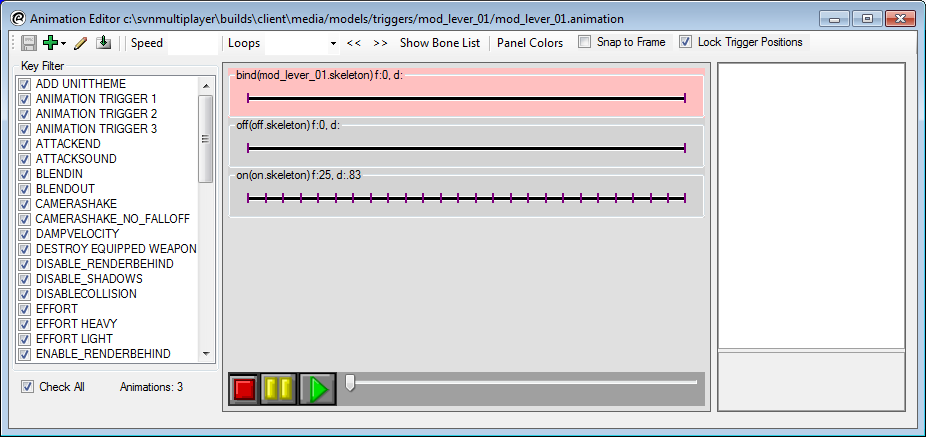
You have now created a mod_lever_01.animation in your "your mod folder"\media\models\triggers\mod_lever_01 directory. This file is used in the game to associate the correct animations with the mod_lever_01.
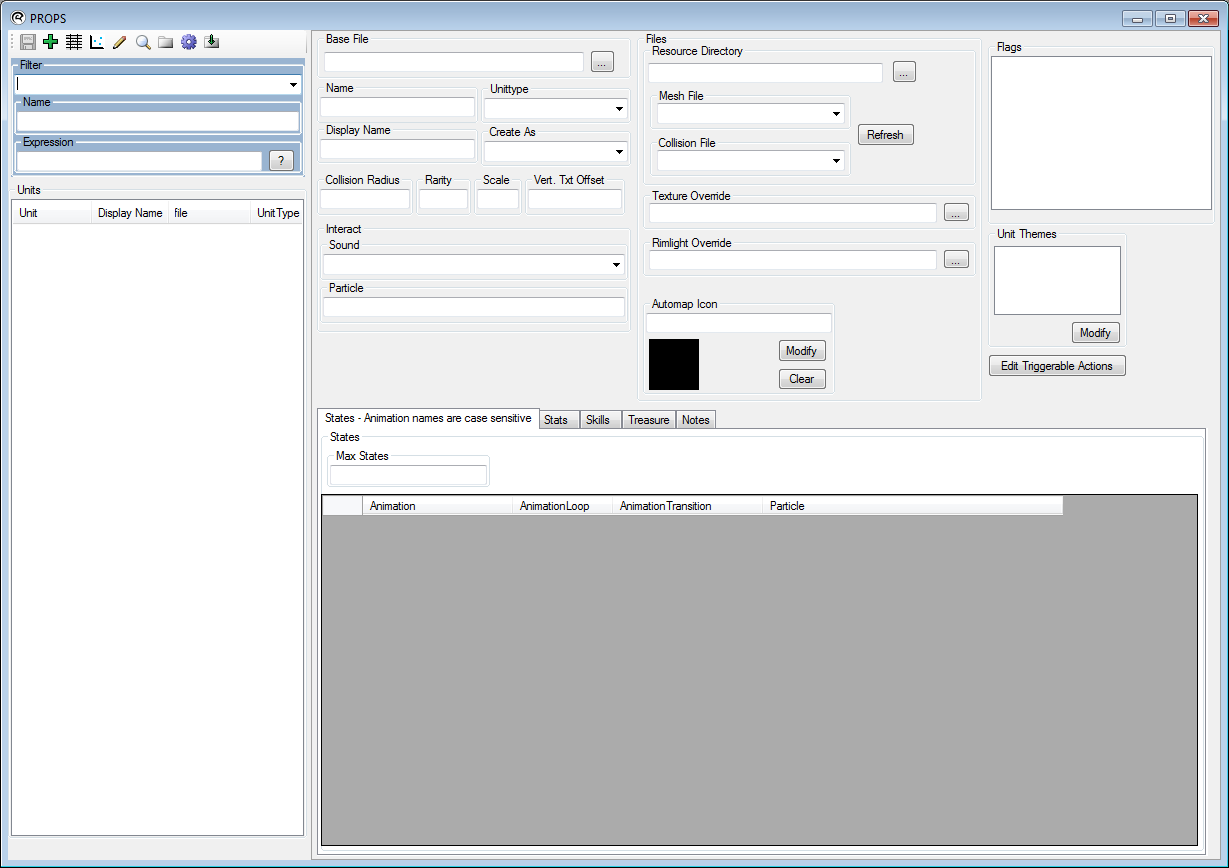
Second Step: Create the Unit Trigger File
- Click the Data Editors menu > Units > Props. This opens up the Props unit editor window.
-
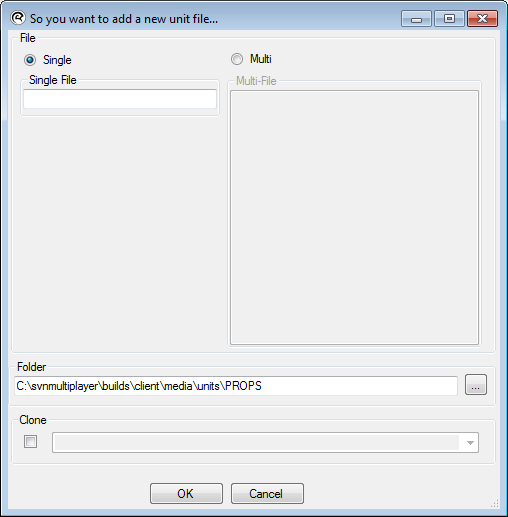
- Click the
 . This will open up the So you want to add a new unit file... window. In this window you are creating a unit .dat file for your lever to be referenced in.
-
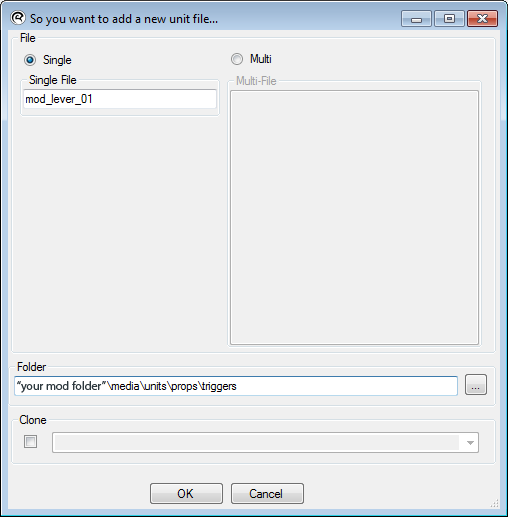
- Type "mod_lever_01" in the Single File field. This will be the name of the unit trigger file.
- Click the "..." button next to the Folder field and create folder structure and select the folder to "your mod folder"\media\units\props\triggers.
-
- Hit the OK button.
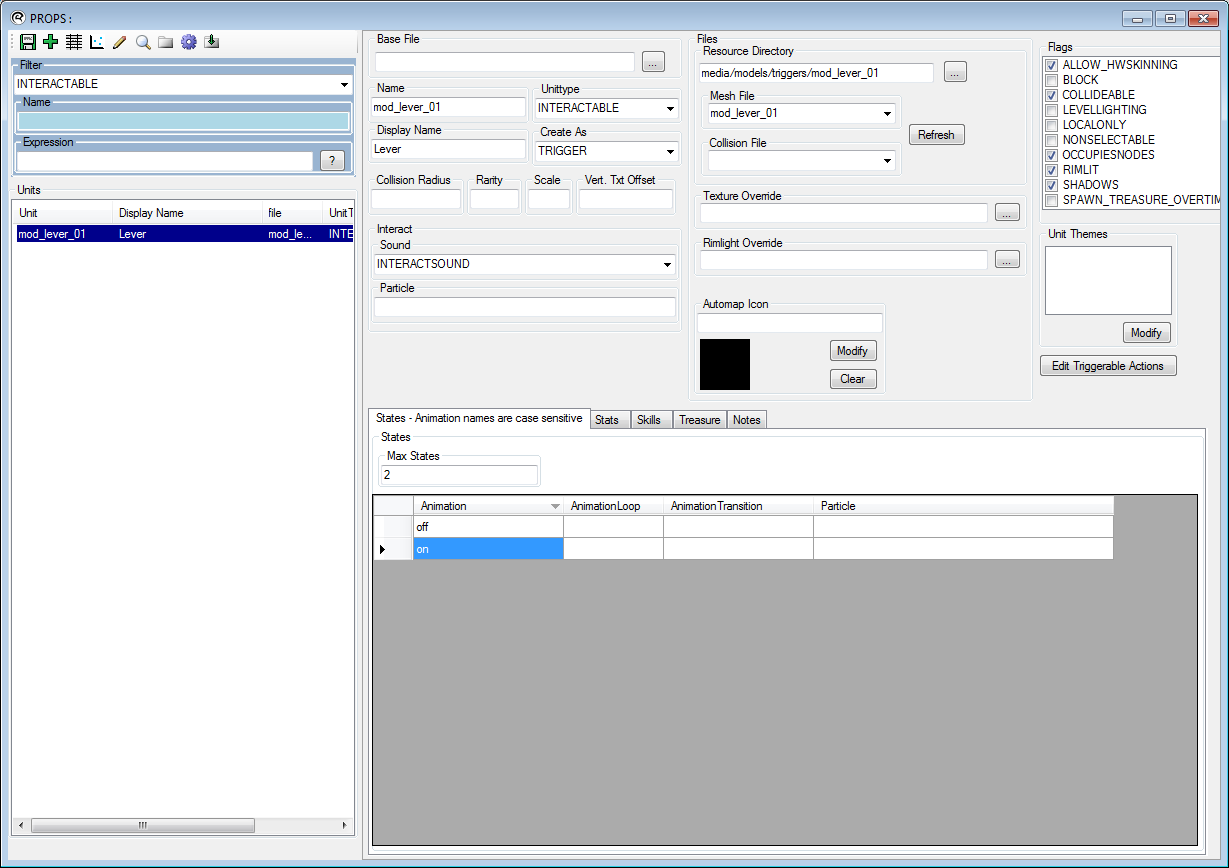
- Back in the Props unit editor window, many of the fields need to be filled out.
- Name field should say "mod_lever_01".
- Display Name' field should be "Lever". This is the name that will show up on the trigger in game.
- Unittype drop down should be set to "INTERACTABLE".
- Create As drop down should be set as "TRIGGER".
- Sound drop down should be set to "INTERACTSOUND".
- Resource Directory should be set to "your mod folder"\media\models\triggers\mod_lever_01 directory.
- Mesh File drop down should be set to "mod_lever_01".
- Fill out the States tab spreadsheet below. These are the two states for the unit.
-
- Hit the
 button to save the changes.
Conclusion
Now you have a new lever unit with and off and on states that can be hooked into logic to drive events on these states. For more information on how to use this with your level logic please see