Lighting a Layout
From Runic Games Wiki
Contents |
Overview
This tutorial will cover the basics of how to add Lights to a level or prop layout. It will assume you already have a fundamental understanding of how to navigate and use the GUTS editor.
Step-by-Step
Initial Set Up
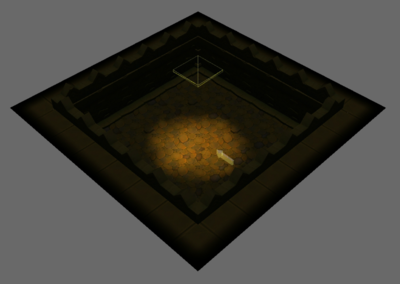
- Create/Load a level with an area to be illuminated by lights.
- Turn Show Helpers on ( Ctrl + H ) to make the Light Objects that will be created visible in the editor.
- Click the Lighting Toggle button
 to turn on lighting.
- Turn the Player Light off ( Ctrl + 8 ) to make it easier to see the lighting.
- Don't forgot to turn the Player Light back on when playing in the editor to see how the final lighting will look.
Add Necessary Objects
Right-click on an empty space in the Layout Scene Manager and add the following object:
- Building Blocks > Light
Move Objects
- Move the Light to the area that should be illuminated.
- Lights extend vertically in both directions infinitely, and are not blocked by any objects, so their Y position does not matter.
Change Properties
Select the Light and change the following properties in the Properties Window:
- "Filter" to "/media/lights/catacombs/".
- This filters the "File" list to only display lights for the selected folder.
- "File" to "/media/lights/catacombs/catacombs_gradient_03.mesh".
- This determines the shape and color of the light.
- "Scale X" and "Scale Z" to 4.
- This is the size of the light.